How to Move Rocks
Tired of running around your island hunting for the money rock every day? Check out this guide to find out how to move all your rocks into a neat little garden in Animal Crossing: New Horizons! I hope this helps you 💖 Happy island designing!
Table of Contents
02. Choosing How to Cover Your Island
03. Moving the Rocks
04. Troubleshooting
05. Finishing Up
- Korok: MO-03H5-LK60-8M6B (Huy from Microcosm)
Preparing the Location
You’ll first want to pick the location for your rocks, and you’ll want to be very sure about this. Otherwise you’ll have to go through the whole multi-hour process again if you change your mind.
Once you have a clear area, mark out your rock layout. You could put them in a rectangular garden, in a circle like I’m doing, or any other pattern you want. The main thing to keep in mind is that each rock needs one square of open space on all sides to spawn.
Choosing How to Cover Your Island
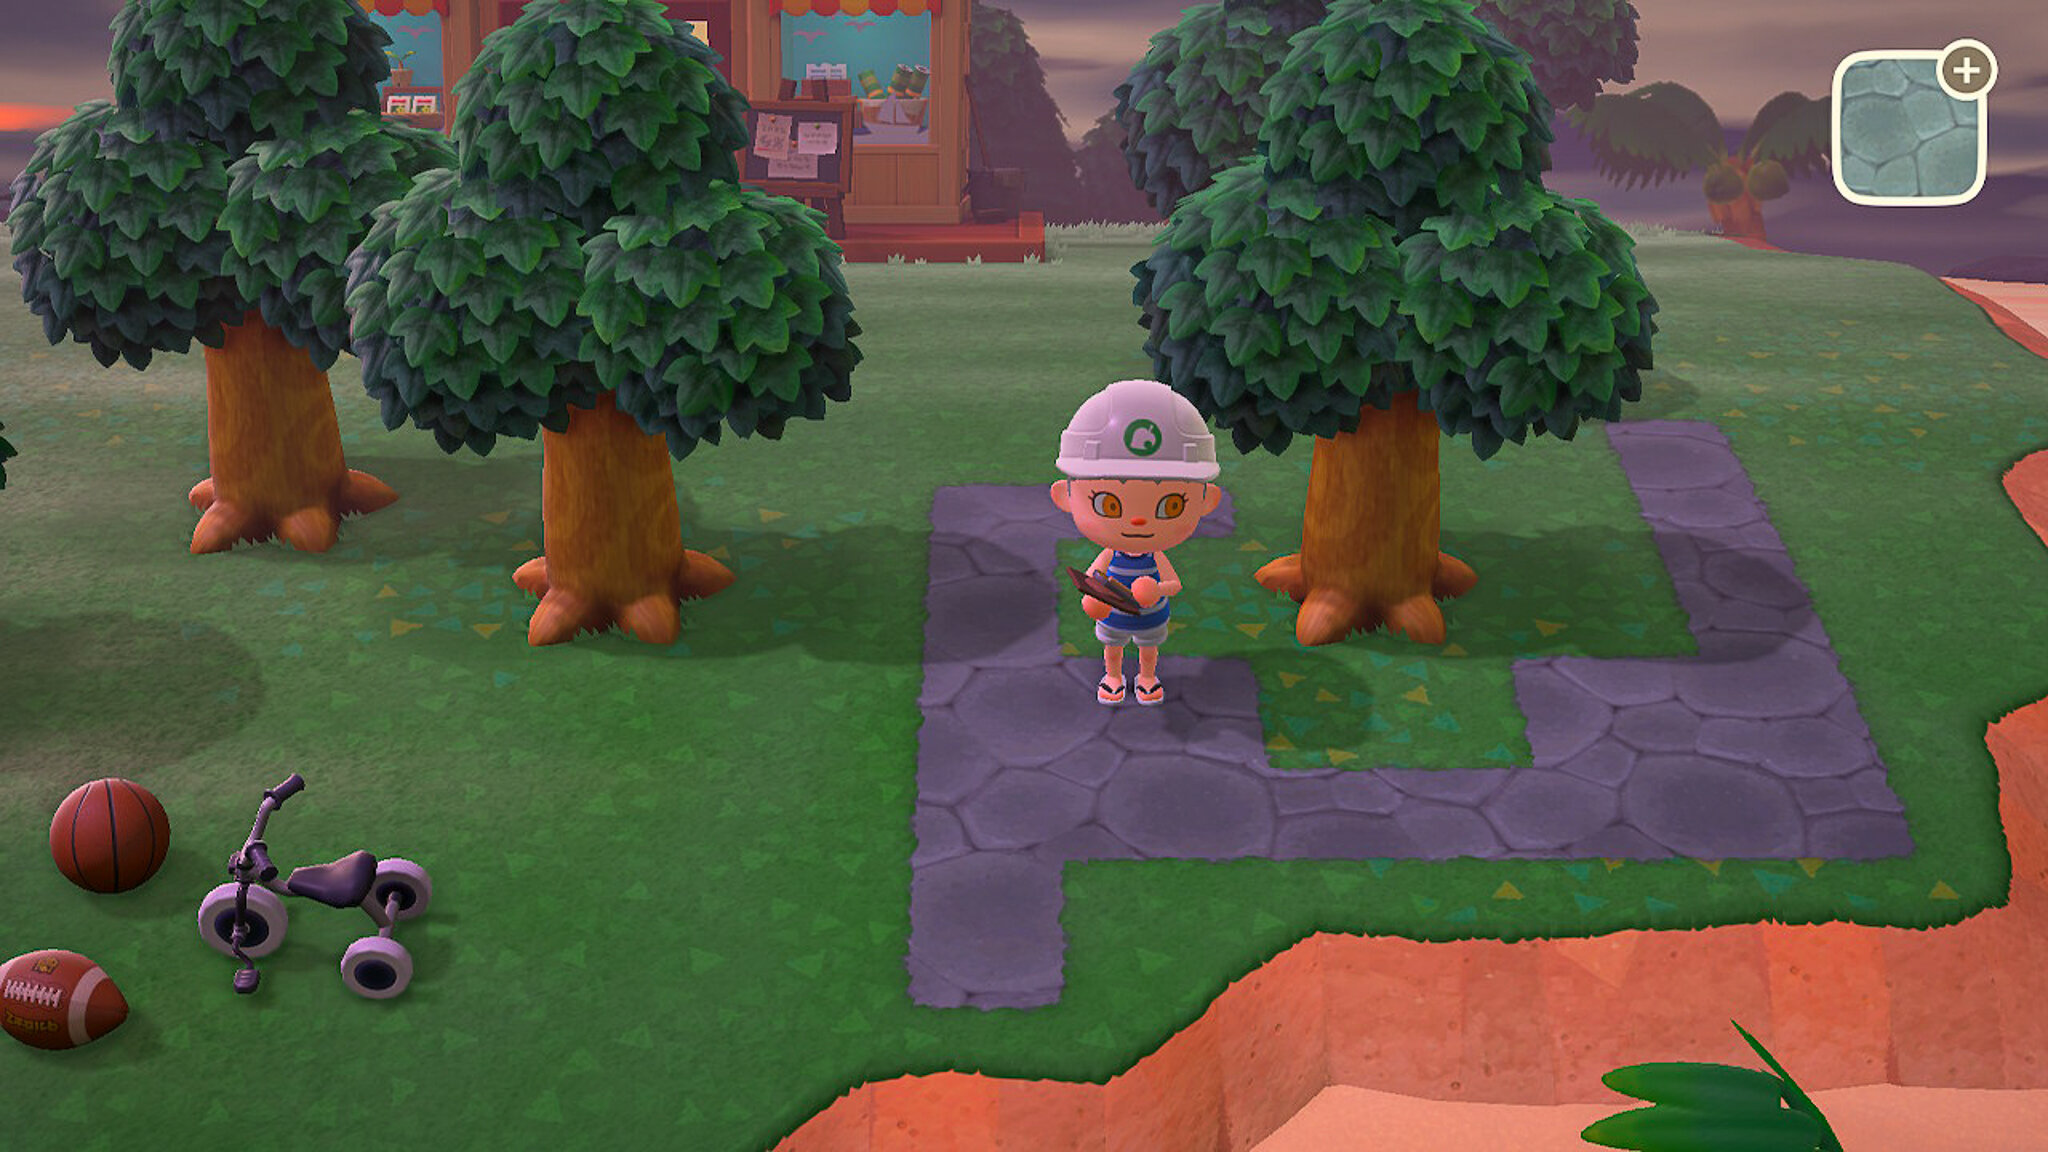
The next step is to pick a method of covering your island. The first option is to cover all the grass in hard paths from the Island Designer app, like stone or brick or wood. Rocks won’t spawn on hard paths but will spawn next to them.
The second option is to cover the grass with custom designs using the “Display on Ground” option in the Custom Designs app. Rocks will spawn next to custom designs like they do with hard paths, but they won’t spawn on top.
The third option is to place a mannequin on every third tile. Rocks don’t spawn next to objects or trees, so placing a mannequin, digging two holes in each direction, and then placing another mannequin should adequately cover the grass on your island.
I’m going with this option because it has the easiest clean up of the three methods. The holes you dig will disappear the next day and later I’ll show you how to get rid of the mannequins in just a few seconds.
There are a few places rocks won’t spawn:
directly next to objects or trees
on the beach
on the rocky areas of the beach
at the upper or lower edges of cliffs
next to rivers or lakes
next to existing buildings
This means you mainly need to focus on covering the grassy areas of your island. No matter which method you choose, make sure to thoroughly cover your island. Rocks will still spawn next to flowers and weeds, which is something I forgot when I was placing mannequins.
For more control over my rock layout, I decided to display custom designs on the ground next to the open spots instead of using mannequins. I started off by leaving only one spot open, but you’ll see later that didn’t quite work out for me.
Moving the Rocks
When you’re done covering your island, get ready to start breaking rocks by collecting at least six fruit to eat. Eat one and hit a rock with your shovel to break it.
You could hit all six rocks in one day, but they only respawn one per day, so you’ll need to wait six days or time travel either way.
Troubleshooting
If the rock doesn’t show up the next day, then you likely have spots you missed when covering your island. Most of mine were next to flowers or weeds.
I also went back to my orchard and placed mannequins at the end of the dirt paths, just in case any rocks would have respawned there. And I went ahead and added mannequins in the small grassy areas next to the beach, just to be sure.
When the rock didn’t respawn where I wanted it the next day, I checked my island for open areas again and then decided to open up all my chosen rock spots and break the rocks all at once.
Two of the rocks respawned in my rock garden, but the rest refused to show up anywhere on my island. After some research, I figured out the trees in front of the area may be preventing the rocks from spawning. Rocks won’t spawn a certain number of spaces behind a cliff in order to avoid being hidden, so I figured they might not respawn behind trees for the same reason.
After clearing out those trees, the other four rocks respawned right where I wanted them.
Finishing Up
Once all my rocks were in place, I cleaned up the custom designs on the ground and got rid of the mannequins.
To make the mannequins disappear, open up the Custom Designs app and select the pro design you used, then click “Change Design”. Change one pixel of the design and then save it, and…
Voila! All the mannequins have disappeared. Pretty easy, yeah?
For my finishing touch, I added a Korok design in the center of the rock circle.
And that’s how to move rocks on your island! It’s a long process, took around 7 hours for me, but well worth it in the end.
Thanks for reading! I hope this was helpful 💖


