
Terraforming Guide with Full Process
Not sure where to start with terraforming in Animal Crossing: New Horizons? Take a look at this guide to see my complete process from start to finish. I go over how to use the waterscaping and cliff-construction permits, how to prep your work zone for construction, tips for demolishing cliffs faster, and how I built a secluded spot to move my house. I hope this helps you 💖 Happy island-scaping!
Table of Contents
02. Demolishing Cliffs
03. Building Cliffs
04. Waterscaping
05. Finishing Touches
06. Final Design
Planning + Clean Up
Terraforming can be a bit overwhelming at first, so I’ve created a guide that shows the whole process from start to finish. So that you can get started on your island right away!
I’ve found that it’s less overwhelming to work on one quadrant of your map at a time. Today I’m setting up the northeastern corner of my island for my house.

First step is to clean up the area by picking up items, digging up flowers, and chopping down trees. If you don’t have a lot of trees on your island, I recommend relocating them instead of cutting them down so that you can still gather wood. Also, make sure you have enough fruit to move your trees. I forgot to count my trees first and had to pick up more fruit.

Open your NookPhone to access the Island Designer app. You get this app after K.K. Slider’s first concert on your island. The waterscaping and cliff construction permits can be purchased at the Nook Stop for 6000 miles each.


Press + on your controller to select what you want to work on.
Once you’ve cleared the area it’s time to flatten it by demolishing cliffs. You don’t have to this, but I found it helpful to work with a blank slate.
Demolishing Cliffs
To demolish a cliff you have to be on the level below. Hit the A button to destroy the cliff you’re facing. I recommend working in a horizontal zig zag pattern because rounded corners will auto collapse when you hit the adjacent full cliffside. If you work vertically you end up hitting each cliff twice to destroy it.

This is definitely a tedious process. Clean up and flattening took me thirty minutes real time.
Woohoo! Now we have a flat canvas to work with.

Building Cliffs
It’s construction time! Press A to build a full cliff square. Press A again on a cliff with three full cliffs touching it to round the corner. Rounded corners will only form if four cliffs are next to each other in a square. Otherwise the cliff collapses when you hit it.


I knew I wanted a nice secluded area for my house to go so I started with the back cliff wall for it to rest against.
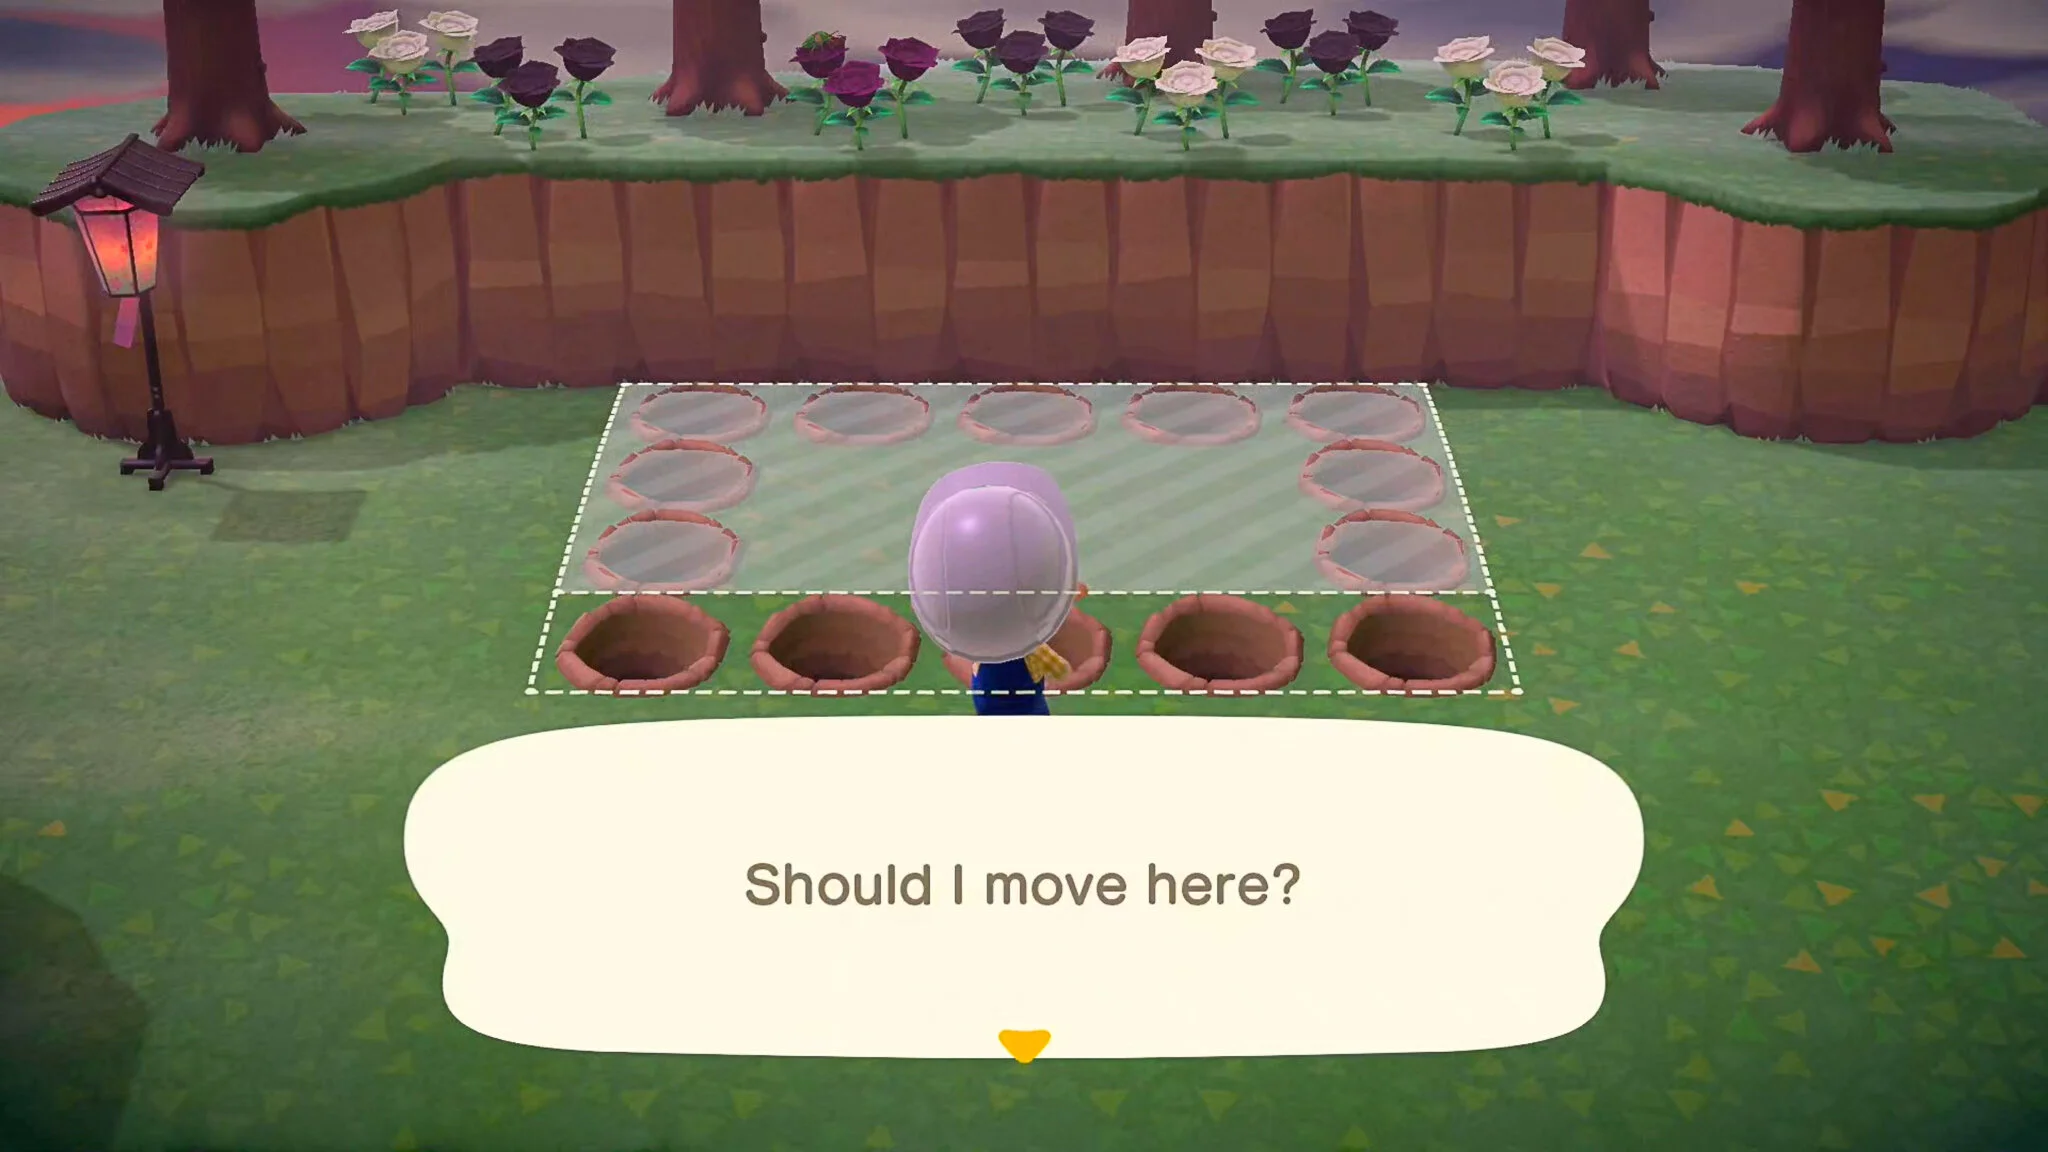
Here I dug holes to measure where my house would go. Player houses are five squares by four squares, and here is a list of the other building sizes.

As I built my cliffs, I gave them rounded corners and some indentations for a more natural look.
Then I tried building more cliffs on top, but the upper cliff levels need a full square of base ground on all sides in order to be built. Sadly, this means you can’t build sheer walls of cliffs. So I planted cedar trees instead for some large natural visual interest. And I love the sky in the game anyway, so I didn’t want to block that too much.


Then I started on the enclosing cliffs, and I worked diagonally to give them a slight curve to protect the house. I kept rounding the edges and I planted a couple more cedar trees. Then I built a cliff on top to really hide my house.

Waterscaping
Here I switched to the waterscaping permit. To use this tool press A once to dig water into the ground, or press A on top of the edge of a cliff to create a waterfall. Waterfalls need one full ground square on one side and at least a corner on the other in order to form.


To have two north-south waterfalls merge you need at least three squares of north-south ground. If you try making the second waterfall with only two squares of ground you’ll get a warning that says the cliff will collapse.


I continued to build out the cliffs more and added little waterfalls, and then I dug some streams from those waterfalls to connect to the river. To get rid of sharp corners in streams, hit A to collapse the ground or hit A twice to fill in the stream and then dig it out again.

Finishing Touches
Once I had the water done, I built out the cliffside of the adjacent quadrant to create a short winding path to my house.

Then I decided to do a little decorating. So I dug up my flowers and put them on the cliffs, working with a black and white scheme for the back cliff — and one, lone purple flower. And then a pink, orange, red, and yellow theme for the front cliffs.


I got tired of using my vaulting pole to cross rivers, so I built some stepping blocks using the waterscaping tool. Added some more trees. I stopped by my house to grab a few items before I started decorating, including a garden lamp, blossom viewing lanterns, record player, outdoor picnic set, and some log stakes.

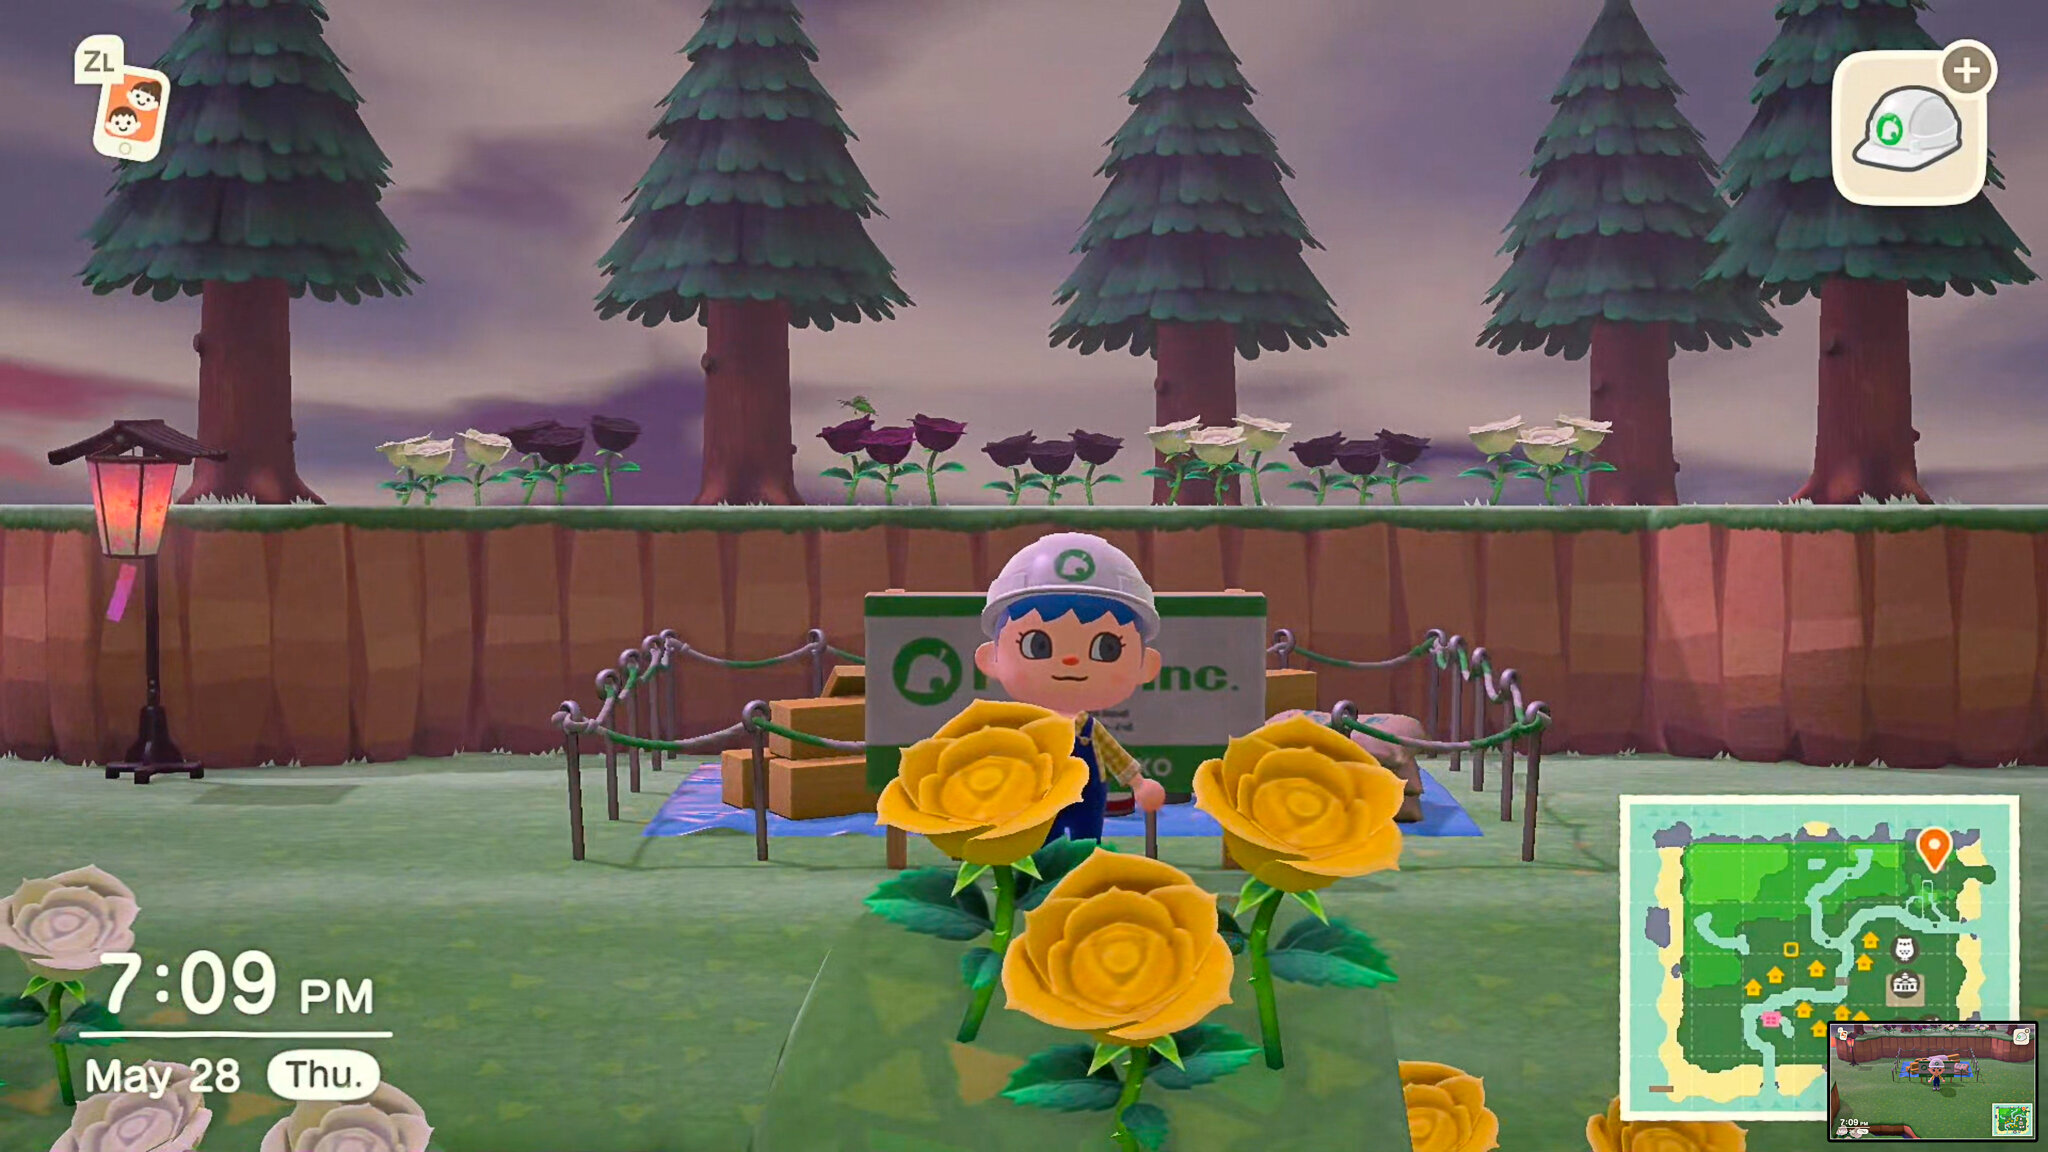
Here I finally got to place my house moving kit! Looks good~
Final Design
And it’s done! Looks pretty cute I think. I still have paths to add and more decorating, but I’d say it’s successful.

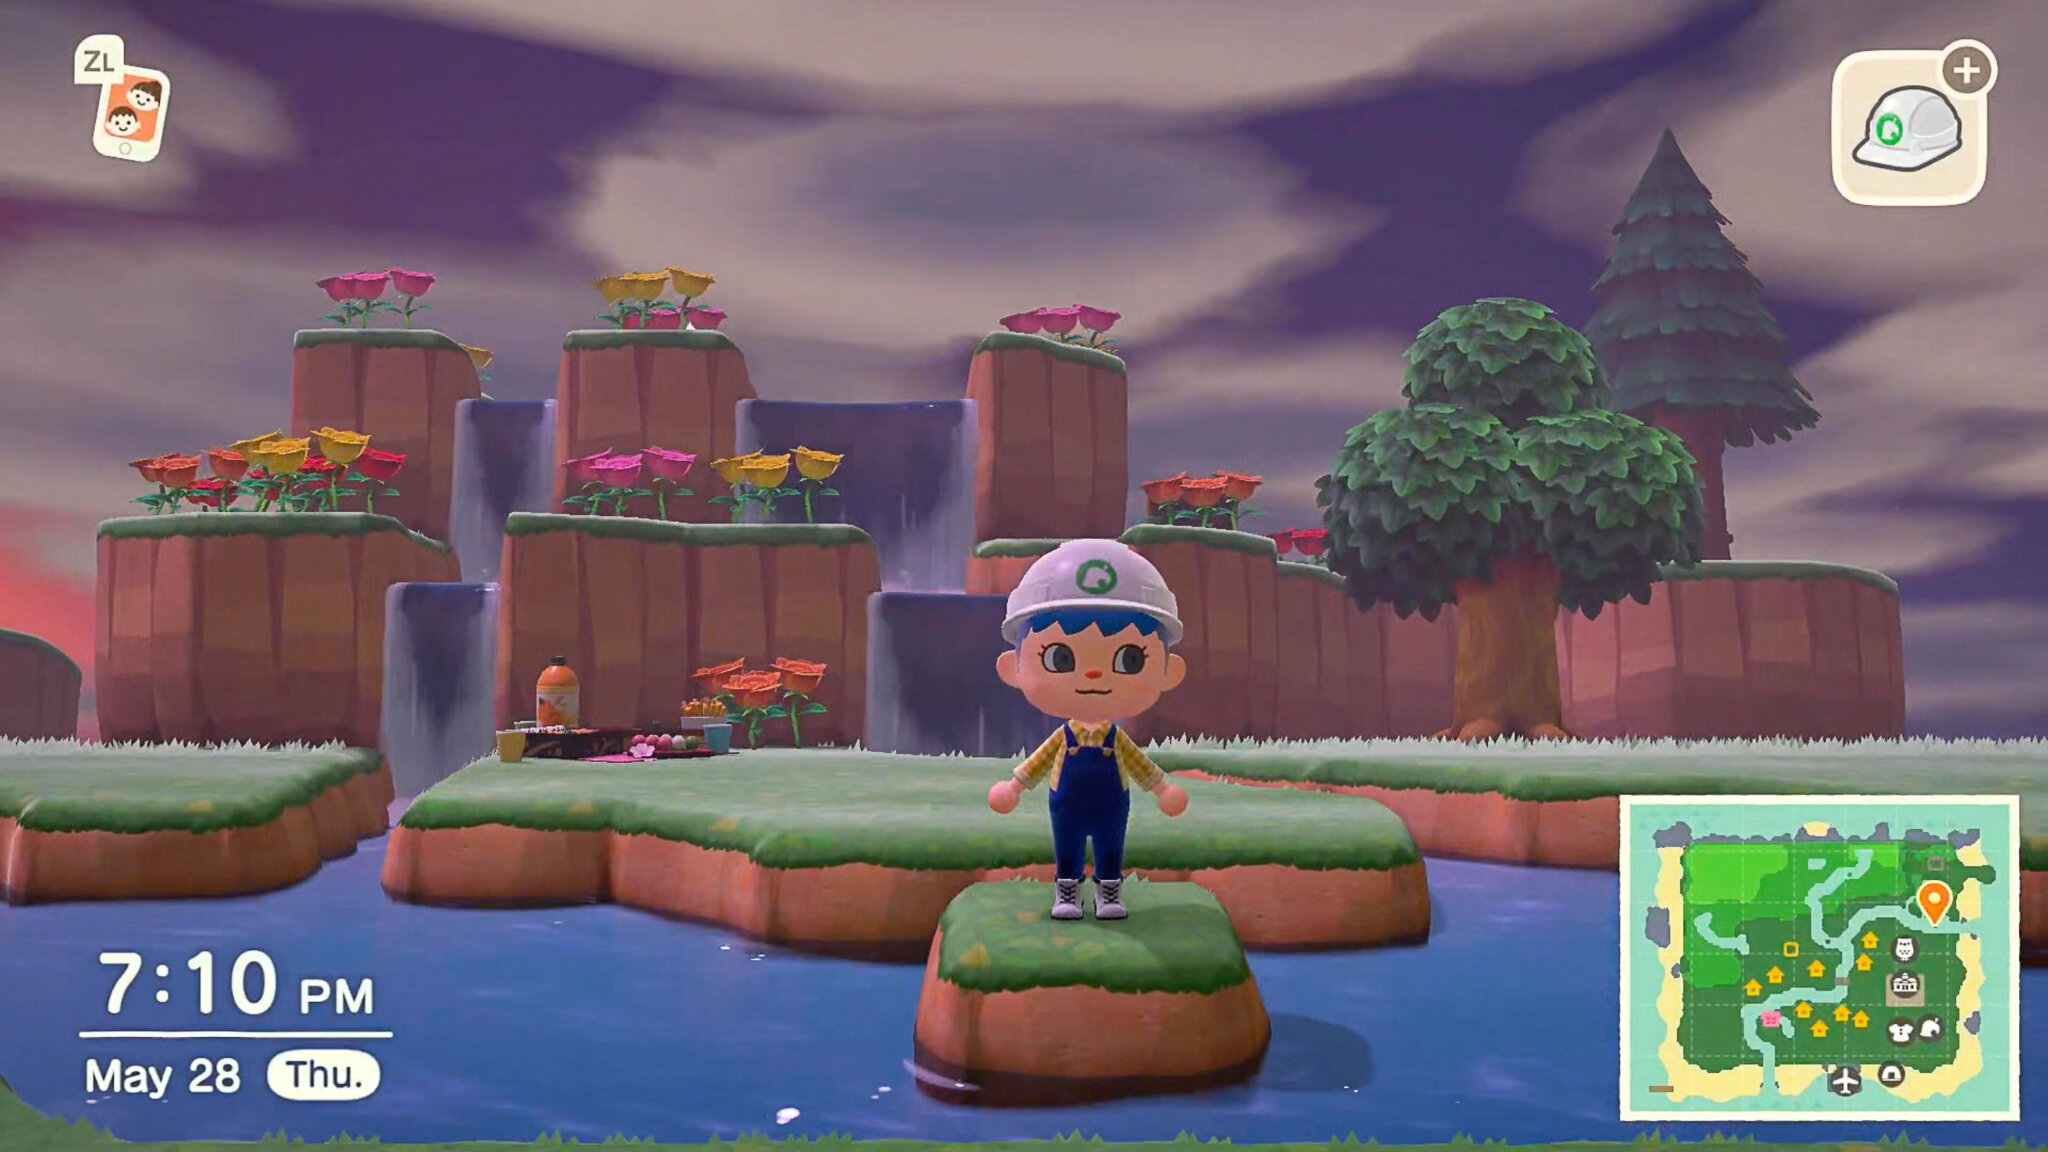
The full process took two and a half hours from start to finish. I think working one quadrant at a time is much more manageable than trying to terraform your entire island at once. Here’s what the quadrant looks like on the map now.

Time for a well deserved break 😎 And then on to decorating and placing paths!
